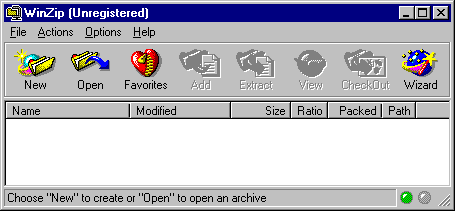
- From the WinZip Main menu [see picture above], with no archive open, click the "New" button.
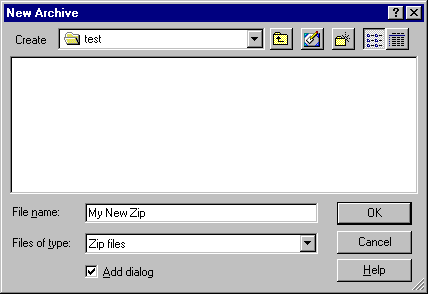
- This will open the "New Archive" dialog. [see picture below]
- This is another point of confusion for new users. Here, you are giving a name for the new archive (zip) file. The dialog is only open to allow you to place the zip file WHERE you want it. When you reach the folder where you want the file created, type a name (no extension) in the "file name" window" and hit "OK". (I'm using "My new zip")
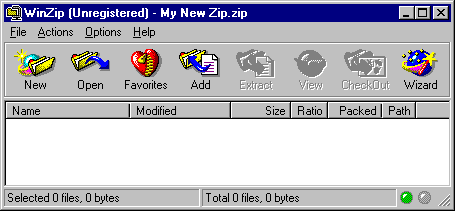
- The Main Menu comes back, but it's empty, ready to be filled.
- Notice the file name in the title bar.
- Now hit the "Add" button, to add files to the archive.
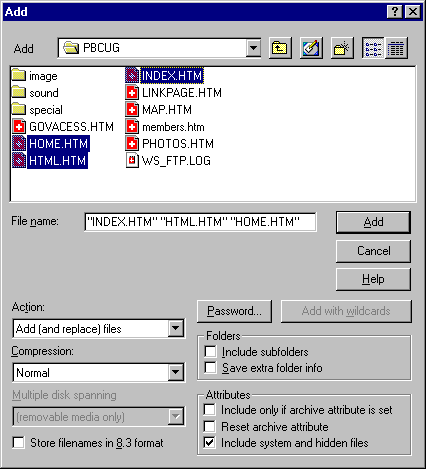
- This brings up the "Add" dialog. [see picture right]
- Surf through the directory tree in the center of the dialog, when you reach the right folder, mark (highlight) the file(s) you want in the archive.
- Unless you dealing specifically with hidden or system files, do yourself a favor and UNCHECK the "include system and hidden files" checkbox in the lower right-hand corner.
- When you have the files chosen, hit the "Add" button.
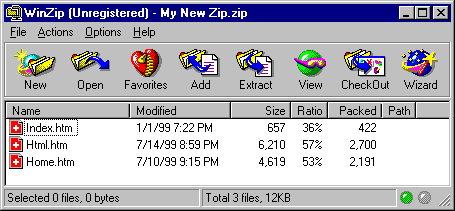
- The Main Menu comes back, but now the files you selected are listed in the dialog [see picture below]
- The process for adding files to an existing zip is the same except the you start by opening the zip, then hit the "Add" button.
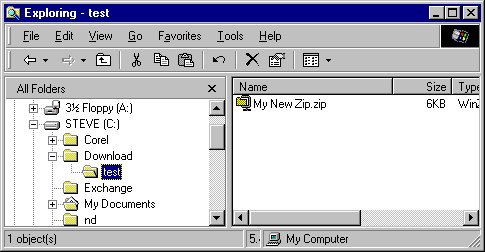
- Now if we open up Explorer [see picture below], we find the zip file we just created.
Back to Projects Index Page